


How to Properly Export Photoshop Files for Print
How to Optimise Photoshop Files for Print (Poster Sellers Guide)
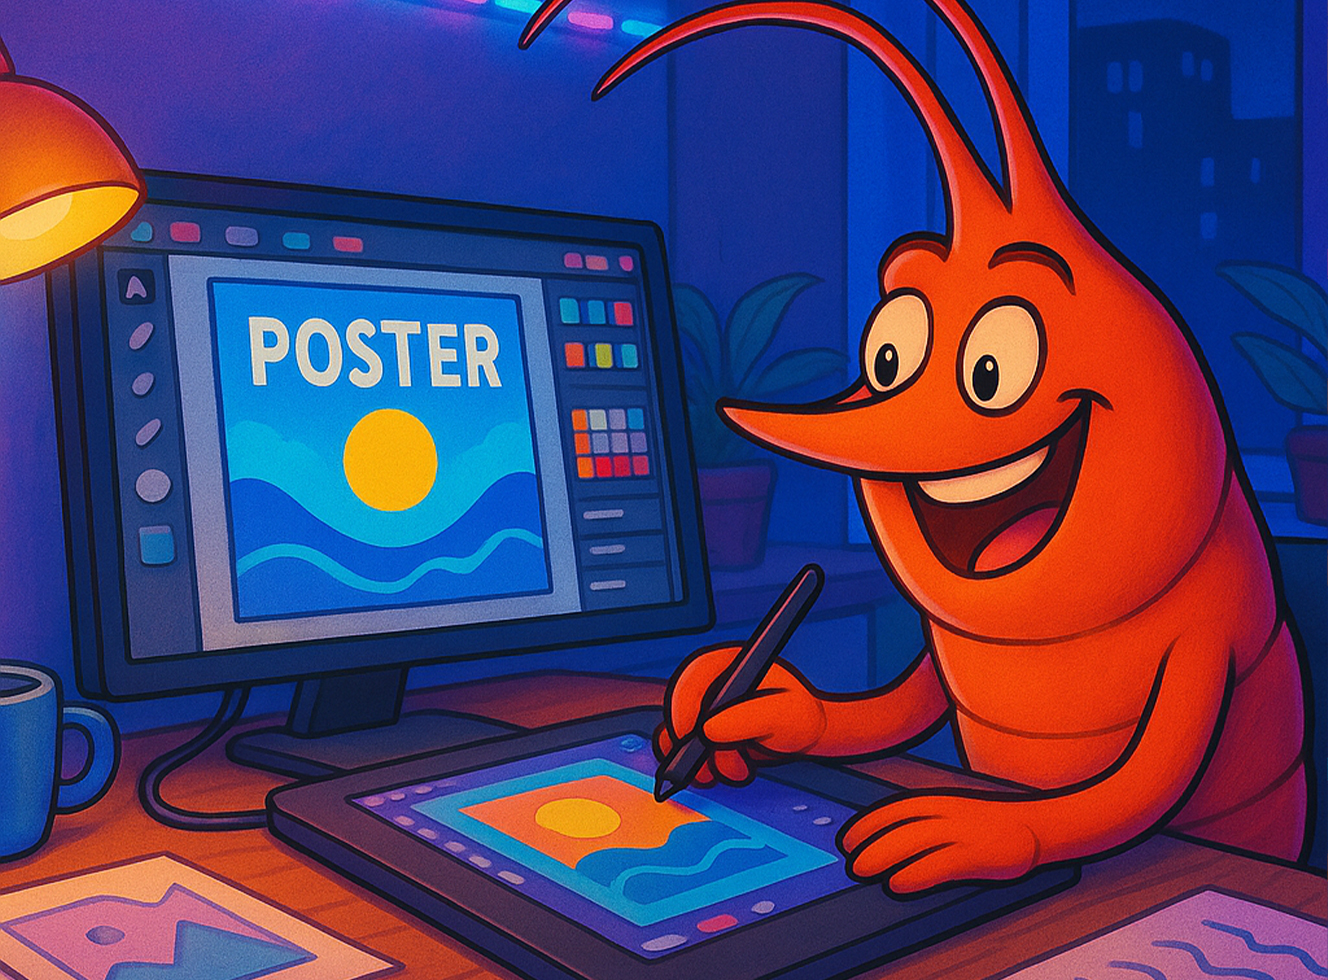
If you're designing posters in Photoshop — whether for Etsy, your own store, or PrintShrimp — it’s important to set up your files correctly to ensure the best print quality. The good news? It’s actually very simple.
This guide breaks down everything you need to do to prepare your Photoshop files properly, including DPI, colour profiles, file types, and common mistakes to avoid.
Let’s keep this quick and easy 👇
🎨 1. Set Your Canvas Size Correctly
Before you start designing, always create your canvas at the exact size of the print you are making.
For example:
- A4 → 8.27 × 11.69 inches
- A3 → 11.69 × 16.53 inches
- A2 → 16.53 × 23.39 inches
- 12×16 inches
- 18×24 inches
- 24×36 inches
Designing at the correct size avoids scaling issues and prevents images from becoming blurry when printed.
🖨 2. Use 300 DPI (Dots Per Inch)
Your Photoshop canvas should always be set to:
✔ 300 DPI
This is the standard for high-quality printing and ensures your artwork stays crisp at all sizes.
Can you sometimes get away with lower DPI?
Yes — if your artwork is extremely clean, simple, or vector-based.
But for photography, illustration, or AI-generated content, 300 DPI is the safest choice.
🌈 3. Use the Right Colour Setting (sRGB)
Photoshop lets you choose from different colour profiles, but for poster printing (especially across multiple countries and print labs):
✔ Set your colour profile to sRGB IEC61966-2.1
Why sRGB?
- It displays most accurately on screens
- It converts cleanly to CMYK when printed
- It avoids muddy colours and unexpected shifts
- It’s the industry standard for online printing and POD workflows
To set this in Photoshop:
Edit → Color Settings → sRGB IEC61966-2.1
This ensures colour accuracy between what you see on your monitor and what arrives in print.
💾 4. Export as a High-Quality JPEG
For posters and print-on-demand, the best export format is:
✔ JPEG (Quality max - 7)
Why JPEG?
- Small file sizes
- High quality
- Ideal for photography, illustrations, AI art
- Works perfectly with our PrintShrimp production system
Keep your exported file:
- Under 75MB (PrintShrimp limit)
- Preferably between 2MB–25MB
If your file is huge (e.g., 100MB+), it’s not “better quality” — it’s just heavy and may slow things down.
Use File → Export As → JPEG or File → Save As → JPEG.
🧼 5. Avoid Bleed and Crop Marks
For posters printed through PrintShrimp:
- ✔ You do NOT need bleed
- ✔ You do NOT need crop marks
We print edge-to-edge on all posters.
Just ensure:
- No tiny text is right at the edge
- No critical design element is touching the border
- Leave a few mm of visual breathing room
This prevents small trimming variances from being noticeable.
🧠 6. AI Art? Make Sure It’s Upscaled
If your artwork comes from:
- Midjourney
- Sora
- Stable Diffusion
- DALL·E
- Any online generator
Then you should always upscale before printing.
Many AI tools originally export at 72–96 DPI or small dimensions.
Upscale using:
- Gigapixel
- Pixelcut Upscaler
- Adobe Super Resolution
- Any 2× or 4× upscale tool
Then import the upscaled version into Photoshop before exporting as JPEG.
This avoids blurriness in large sizes like A1 or 24×36".
⚙️ 7. Smart Layers, Text, & Shapes Are Always High Quality
If you build your poster using:
- Text layers
- Shapes
- Smart objects
- Vector elements
They will scale crisply at any DPI.
Just make sure any imported images (photos, textures, illustrations) are also high-resolution.
🔥 Quick Checklist for Perfect Print-Ready Photoshop Files
Before exporting, confirm:
Canvas
- ✔ Correct size
- ✔ 300 DPI
- ✔ sRGB color profile
Design
- ✔ All images high-resolution
- ✔ No important details near edges
- ✔ No unnecessary bleed or crop marks
Export
- ✔ JPEG format
- ✔ High quality
- ✔ Final file ideally 2–25MB
- ✔ Under 75MB limit
Do this and your posters will print beautifully — every time.
Ready to Start Selling?
PrintShrimp prints posters domestically in the UK, US, EU, Canada & Australia with:
- Fast dispatch
- Great print quality
- Affordable pricing
- Free tracking
If you want to learn more about optimising your print-on-demand workflow, join our free Skool community — packed with tutorials, tips, and step-by-step guides for sellers.